

Tools required

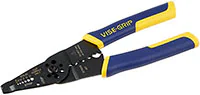
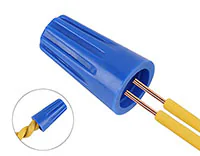
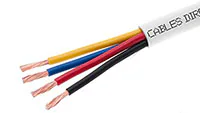
Before we begin
-
Your equipment is fully working and tested
Everything should be set up and working normally before you install KitCabootle, including fooler boards, bill acceptors, printers and controllers.
-
Your equipment is powered off and unplugged
If the wrong wires touch while the power is on, your equipment could short out and be damaged.
-
Your network is ready for a new device
KitCabootle talks over your local network. Internet is recommended but not required.
-
You’ve saved your KitCabootle info
Keep the board’s MAC address and adoption code handy for the end of the install. They’re on the sticker underneath the board.
-
Your terminals are labelled
You need to know which terminal is #1, #2, #3, #4 and so on (up to 10). If they aren’t labelled, pick one to be #1 and number the rest clockwise.
Installing your first terminal
Let’s start with terminal #1.
Cut 10 ft of 4-conductor wire
One end connects to your game board, bill acceptor and printer. If you aren’t using a bill acceptor or a printer, skip that wire.
Your wire colors may differ from ours. For example, you might have green instead of yellow. You can swap any color as long as you remember your own color code (or buy the wire from us).
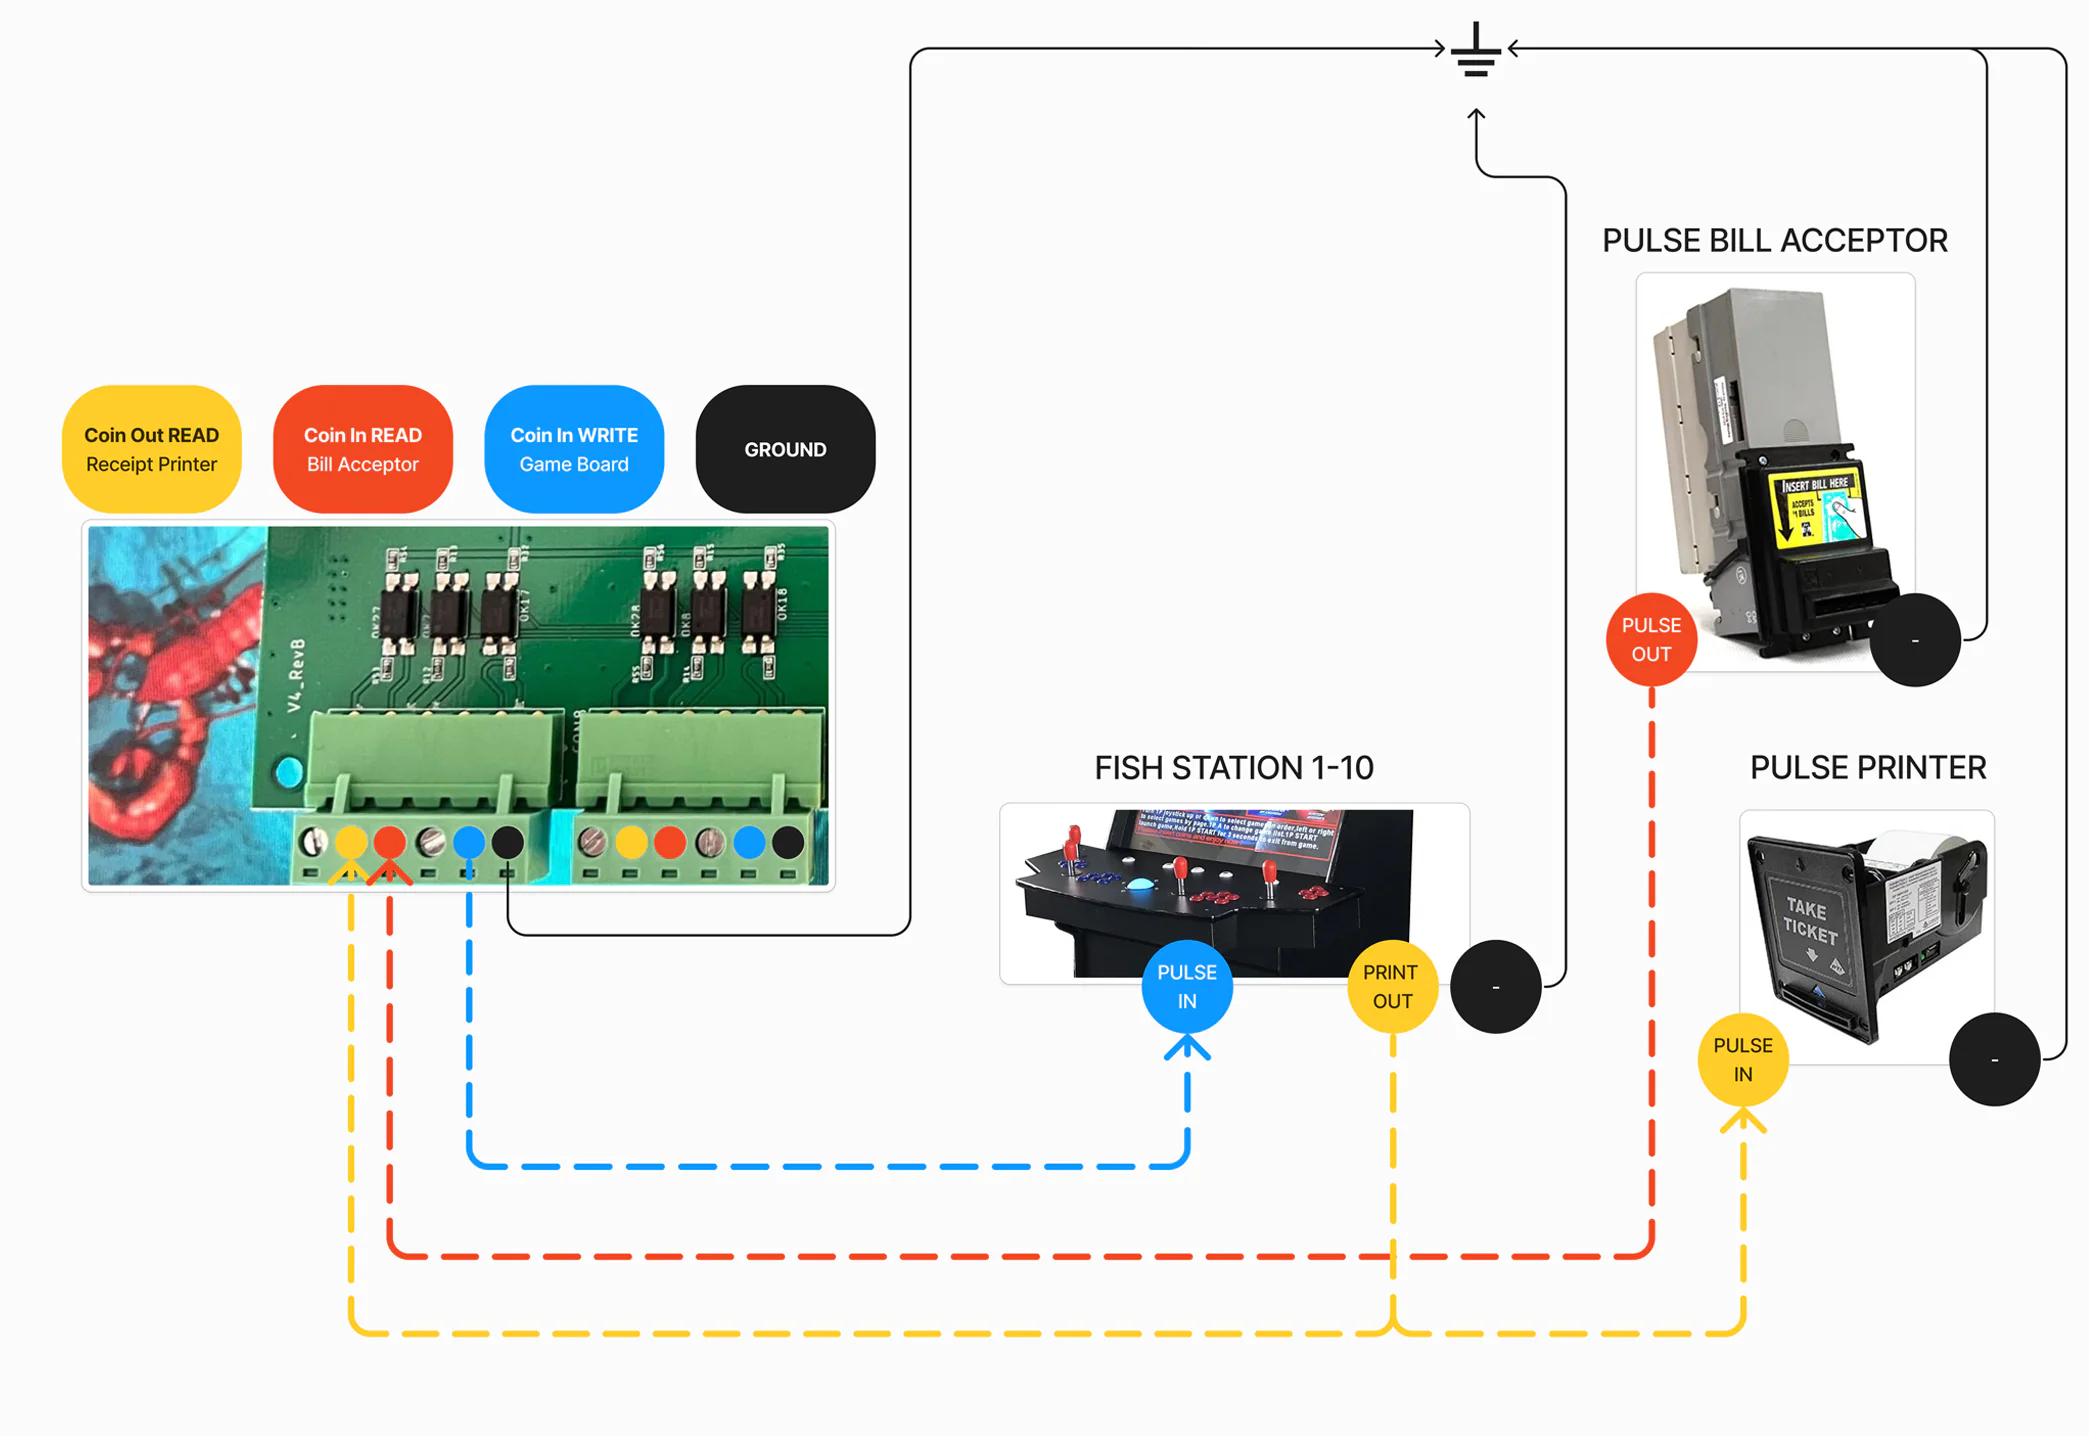
Bill acceptor (Coin In READ)
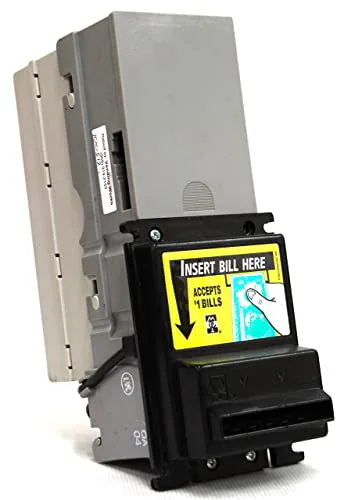
Your bill acceptor may have several wires connected. Find the single “pulse” wire going to your game board, or to the fooler board if you’re using a “Chinese” board.
Apart from power, it should be the only wire connected, and it should not be red, black, yellow or white. It’s usually blue. Once you’ve found it, cut it in half.
- Side A is the end still connected to the bill acceptor.
- Side B is the end still connected to the game or fooler board.
- Connect the RED wire from your 4-conductor cable to Side A with a twist connector.
- Connect the BLUE wire to Side B with a twist connector.
- Optional: connect the BLACK wire to the black ground wire going to your bill acceptor.
Bill acceptor complete!
Ticket printer (Coin Out READ)
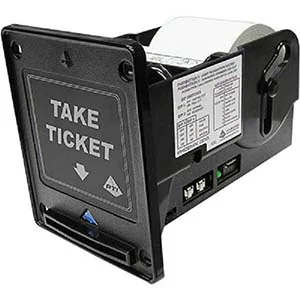
Your ticket printer may have several wires connected. Find the single “pulse” wire going to your game board.
Apart from power, it should be the only wire connected, and it should not be red, black or blue. It’s usually green. Once you’ve found it, cut it in half.
- Side A is the end still connected to the ticket printer.
- Side B is the end still connected to the game board.
- Connect the YELLOW wire to both Side A and Side B by twisting all three together in one twist connector.
Ticket printer complete!
Connecting the wires to the KitCabootle
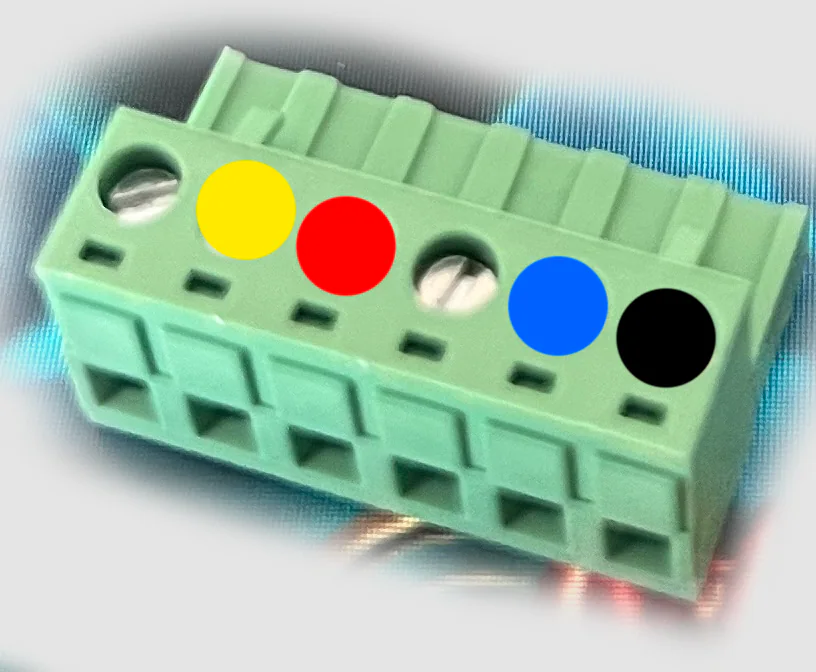
The KitCabootle board has 10 removable plug connectors with screw terminals, one for each terminal. You only use as many as you have terminals. For example, a 4-seat fish table uses 4 connectors.
Each connector is labelled on the board as CON1, CON2, CON3, CON4, CON5 and so on. Make sure they’re plugged in to match how you labelled your terminals.
- Use your small flathead screwdriver to open every terminal by turning the screw counter-clockwise.
- Insert your wires and tighten one terminal at a time:
- YELLOW into the yellow terminal, 2nd from the left
- RED into the red terminal, 3rd from the left
- BLUE into the blue terminal, 5th from the left
- BLACK into the black terminal, the last position, far right
- When you’re done, make sure every terminal is tight, even the unused ones.
Success! Terminal 1 is installed. Repeat these steps for each remaining terminal.
Connecting the KitCabootle to power
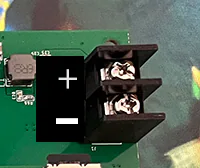
Cut a new length of wire from your 4-conductor cable. You’ll only use the YELLOW and BLACK wires. As before, any colors work as long as you keep track of your own code.
This is not the same yellow wire as above. We’re just using yellow to mean power.
- Connect one end of the YELLOW wire to the positive (+) 12V wire powering your fish table.
- Connect the other end of the yellow wire to the positive (+) 12V terminal on the KitCabootle.
- Connect one end of the BLACK wire to the negative (−) ground wire powering your fish table.
- Connect the other end of the black wire to the negative (−) ground terminal on the KitCabootle.
Congratulations! If all your connections are tight, you can power on your game and equipment. The KitCabootle will light up as everything boots.
Connecting the KitCabootle to your POS
Plug the board into your NiceSweeps network with a CAT5 cable. It finds your POS automatically, and you just add it as a new device on the Devices page using its MAC address and adoption code.
For a fish table, choose “Combine as one” so all seats are managed as a single asset.
Help setting up NiceSweeps POS

Need more help?
Phew, you’re needy… just kidding! Help is one phone call away. Call (727) 320-4155 or email hello@nicesweeps.com (Mon–Fri, 10am – 5pm ET).