

Equipment required
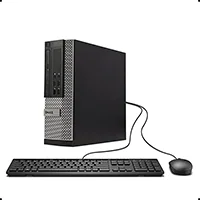
- Windows 10 or Windows 11
- 4 GB DDR3 RAM
- i5 quad-core processor
- Keyboard and mouse
- 120 GB SSD
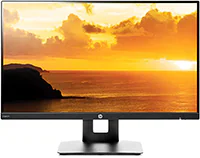
- HDMI input
- 1920 × 1080 resolution
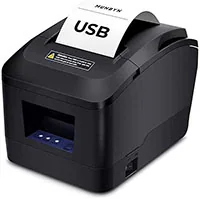
- Automatic cutter
- ESC/POS compatible (most are)
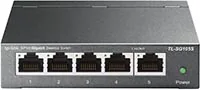
- Switch required
- Router recommended, not required
- Internet recommended, not required
- CAT5 wiring to connect boards to your NiceSweeps network
Need hardware? Ask us and we’ll recommend tested models.
Before we begin
-
Your POS terminal is plugged in and logged in as an administrator
Your Windows 10 / 11 computer should be booted up and signed in to an admin user account.
-
Your POS is connected to your network
If you have internet, connect and browse normally. If you don’t, plug the POS into the same switches or router your KitDevices will use.
-
You have the POS installer
Your distributor will give you a download link for the NiceSweeps POS installer. The current release is also on our downloads page.
-
You have the info for the KitDevices you’re adding
Every KitDevice comes with a MAC address (e.g.
12:34:56:78:90) and an adoption code (e.g.ABC-DEFG-HIJ). You need at least one to finish setup.
Installing NiceSweeps POS
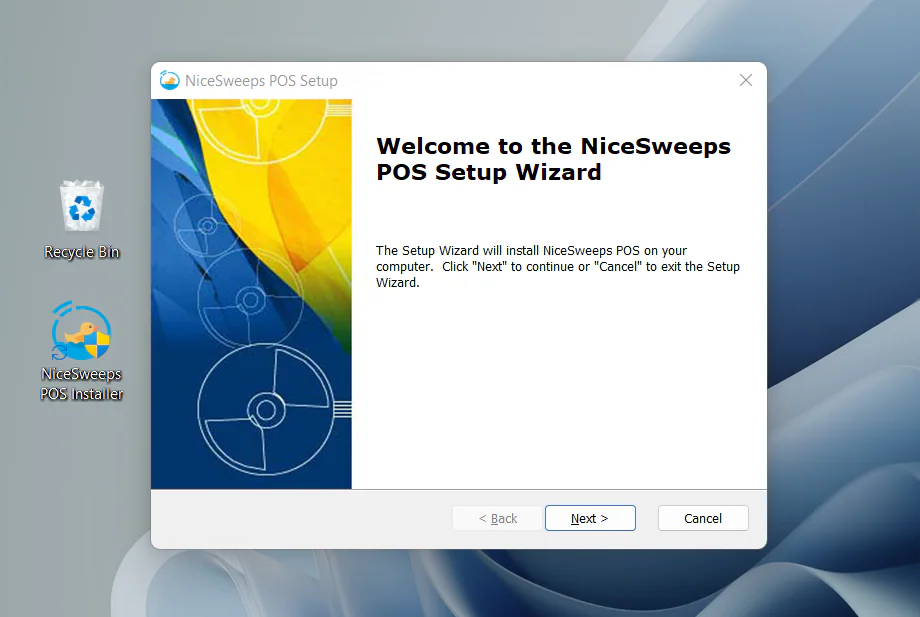
Launch the installer on your Windows computer. It sets up your computer to host the website you use to manage your system and view reports.
If you need help running the installer, contact our support team by phone or email and we’ll get you up and running.
After installation, devices you connect to the network will discover your POS automatically, and you’ll see a NiceSweeps POS shortcut on your desktop.
Check that everything works by visiting https://nicesweeps.local in the browser on your POS.
Download NiceSweeps POS 1.5.0 — Windows x64
Setting up the POS for the first time
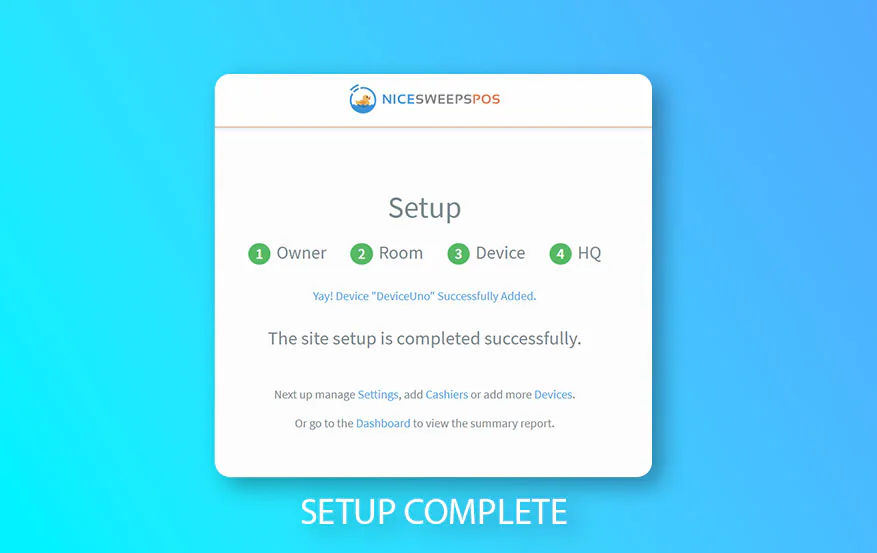
Setup has five steps.
-
Create the Admin account
First you set a password for the Admin account. Distributors or owners use it to make any change to the system. The username is always “Admin”.
You’ll also accept the terms and conditions before continuing.
-
Create an Owner account
Next, create your first Owner account. A location can have several Owners, and each one has access to every feature and report.
We recommend entering the full first and last name for every Owner (and later, every Cashier). Choose a strong password of 8+ characters that you’ll remember.
-
Enter room information
Over halfway! Enter your location name, address, time zone and phone number, then click Add Room. This information prints on customer receipts and you can change it later.
-
Add your first device
Now add your first device. You’ll need the MAC address and adoption code of one of your KitCabootle boards. You can change this later and split seats into individual assets.
-
Configure HQ sync
NiceSweeps HQ syncs your room data to the cloud so you can reach it from anywhere, anytime. If you have your HQ key, turn on HQ sync and enter it here. If not, continue and set it up later.
What’s next?
Every room is different, so now it’s time for your customizations.
 If you’re ever looking for something, there’s always a link to it in the top-right “hamburger” menu.
Settings
Your first stop is usually Settings. Start in the Printer category: choose your POS printer and how receipts should print (most rooms choose automatic). You can send a test print from here to check the system can reach your printer.
The next big decision is under Cashier. Cashier Sessions are off by default, so reports show day by day rather than session by session. Turn them on and cashiers can switch shifts easily, with each drawer report starting at their shift.
This is also where you update Room Information and turn on HQ Cloud Sync if you haven’t yet.
Cashiers
Cashiers and Owners have different permissions. We recommend every cashier gets their own login to use during their shift, whether or not you use cashier session reports.
Open the hamburger menu and choose Cashiers. As the Owner, you create and manage cashier passwords, and you can reset one here if a cashier forgets it.
Devices
You may have more devices to set up or configure. Devices always means the KitBoards that run the NiceSweeps system. Your equipment, such as a fish table or standup, is called an asset.
Every asset NiceSweeps manages is connected to a device. Open the hamburger menu and choose Devices to edit your current device or add new ones.
When you install a KitCabootle board you have two options. You can combine all terminals as one asset (like a fish table), or make each terminal its own asset (like standups).
Need more help?
Phew, you’re needy… just kidding! Help is one phone call away. Call (727) 320-4155 or email hello@nicesweeps.com (Mon–Fri, 10am – 5pm ET).